Introduction
A guide to assist with the Accessibility features of Mastodon. For those new to Mastodon, it can seem daunting to decipher how to navigate the new interface and systems. The site itself has a lot of accessibility features that can be easily overlooked, especially for those that find learning a new system a steep learning curve due to their particular disability. This guide is to assist you with finding those features and unlocking Mastodon’s full potential.
Mastodon Web Client
When a member signs up for disabled.social through the Mastodon website, that takes them to the primary web client of mastodon.
Simple Web Interface
The simple web interface is the default for Mastodon. This shows only one timeline, and to go to the others you need to click in the right-hand menu. This is a layout that is somewhat similar to Twitter’s one timeline with the exception that Mastodon allows you to navigate to other more focused timelines. Let’s explore those first before we move to the advanced web interface.
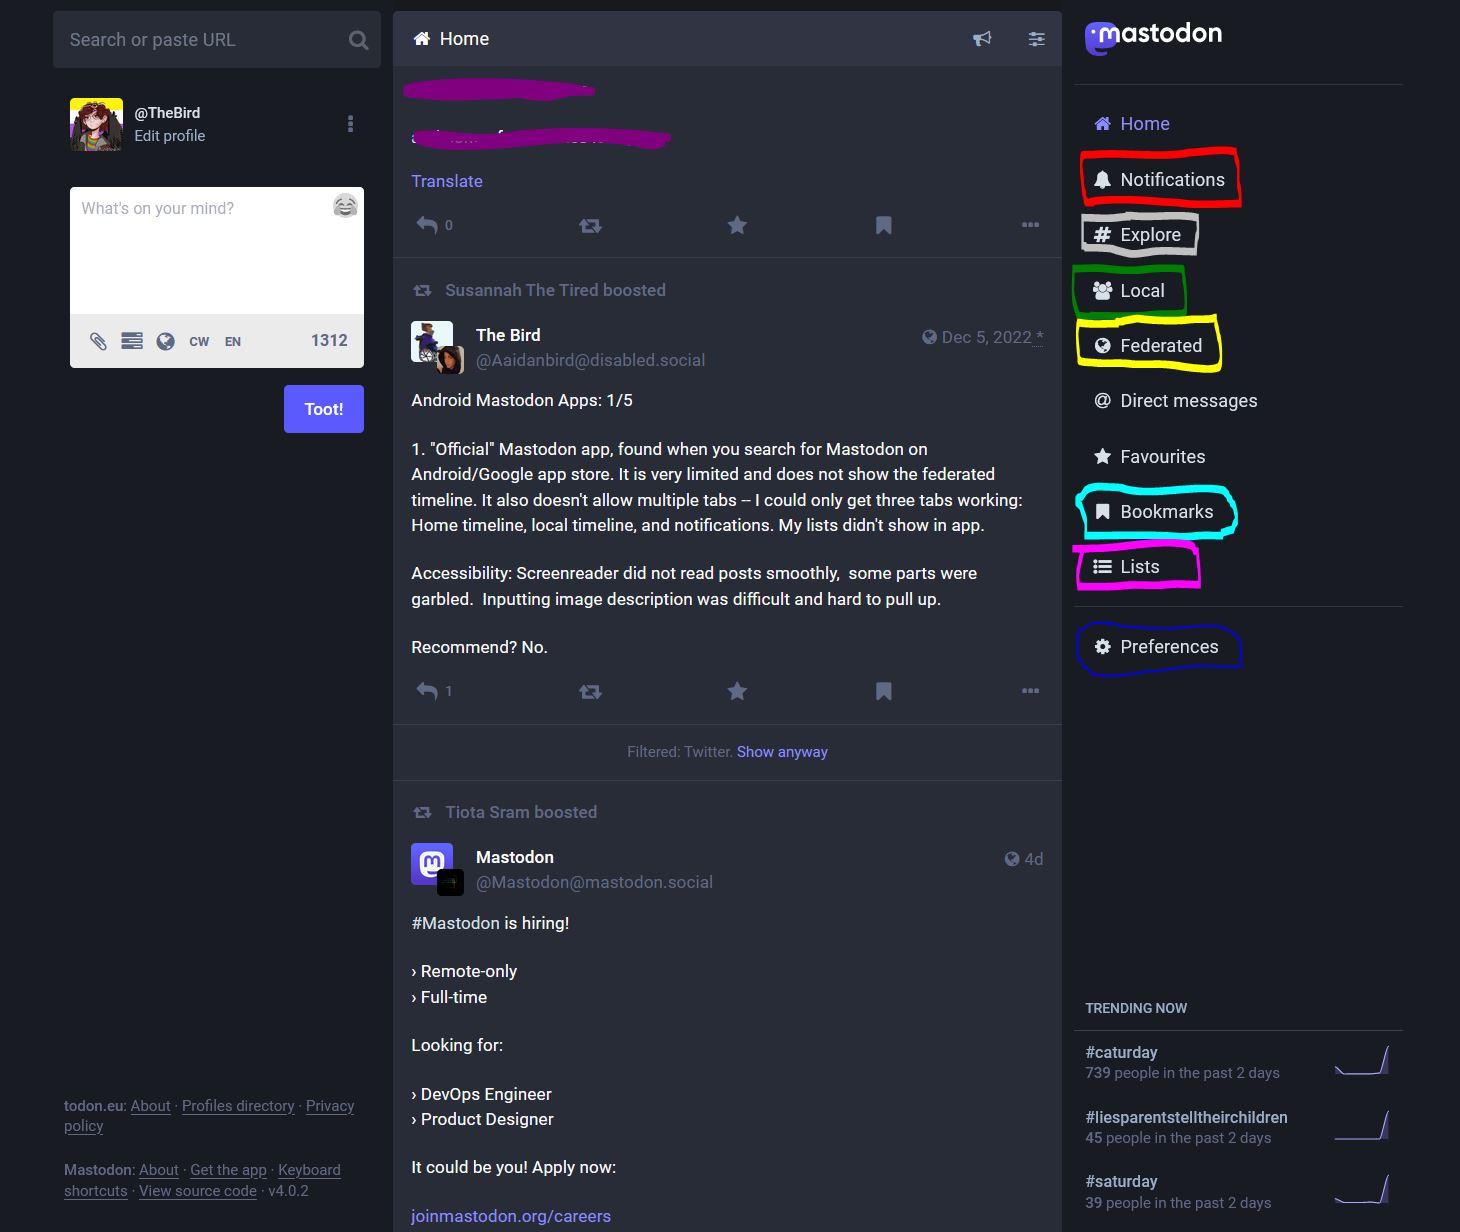
However, this interface isn’t the only way to explore Mastodon. An advanced web interface also exists; there are also numerous third-party open source apps. These will be covered in the following sections along with the accessibility options in each!
Accessibility Options for Mastodon Web-client
First, let’s start with the main Mastodon client and its options.
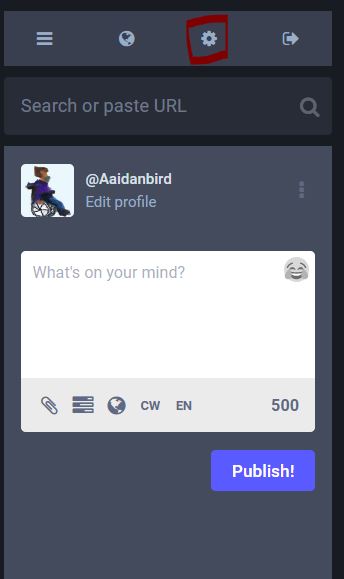
Go to Preferences and click to access settings for Mastodon.
 Or
Or
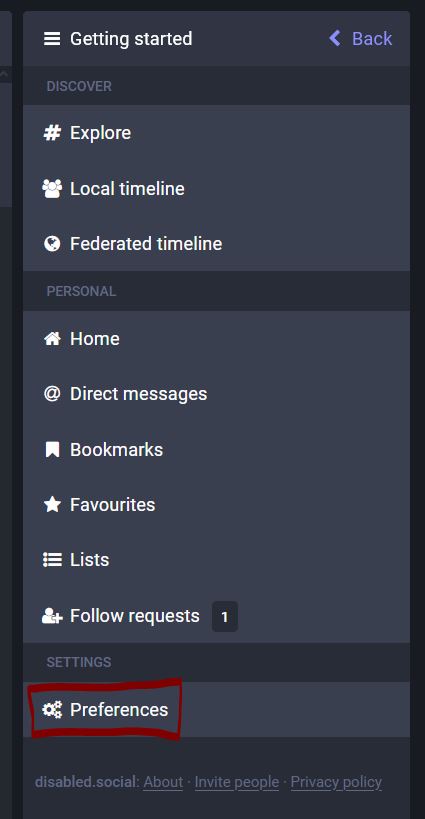
Click on Appearance in left-hand menu. Here is a multitude of options to customize the appearance of the Mastodon web-client.
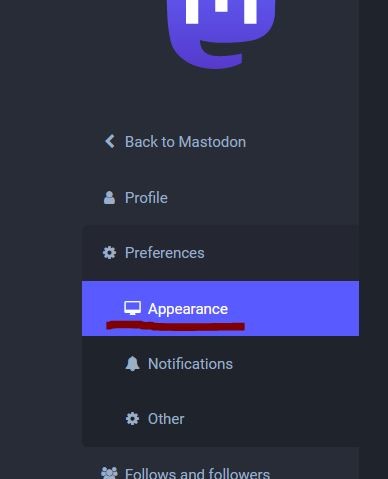
The top two drop down options allow the user to set the language of the client and the theme - dark or light or High Contrast.
Under the dropdowns, there is a checkbox for Advanced Web Interface. If this is checked and the setting saved, the advanced web interface will be unlocked. This allows the user to have multiple timelines open next to each other. We’ll explore that in the next section in a minute.
The Accessibility features are listed under Advanced Web Interface. Here slow mode can be enabled. This is useful when exploring the federated timeline as posts can come quickly and easily overwhelm. The slow mode won’t load new posts right away, but instead it will display a button that lists how many new posts have not loaded. When that button is clicked, the client will then load those posts. This gives the user agency over how fast to load posts, especially in fast-moving timelines like federated (or sometimes local depending on the amount of users in an instance).
Auto-play GIFs is recommended as a default by Mastodon, but this box can be unchecked if the animation in GIFs is disorienting or if the user wants to control if they want to watch the GIF or not. By unchecking this, the GIFs will be static until the user clicks on them, then the GIF will play.
Reduce motion in animations allows the user to take a fast-moving animations and slow it down. When checked, the client will decrease the speed of the animation for us. I always leave this checked since fast-moving animations can be disorienting.
Disable swiping motions is specifically for laptops, phones, tablets, and other devices that have touchscreens. When checked, it disables the ability to swipe in various directions. For those with tremors, this can be helpful to avoid accidentally swiping before they are done reading or interacting with a post.
Use system’s default font can overrule the fonts used by the client. It forces it to use instead the device’s font, such as the phone, tablet, or computer’s system font. This can be helpful if a user chose a specific font to aid them with reading, such as Open Dsylexic font and others.
The Layout settings will set if large images are cropped to a specific size. This will help with keeping a tidier timeline and gives the user control over if they wish to see the full image, uncropped. If this layout is checked, it will require the user to click on the image to pull it up uncropped.
Discovery setting will show the hashtag trends of that particular day. This can be unchecked if people would rather not see that.
Confirmation dialog settings tells the client whether to ask the user if they wish to do an action. These can be checked if the user would like a reminder in case they accidentally click on a button. For example, if the confirmation dialog option for deleting messages is checked, this will open a dialog to ask if the user wants to confirm deletion of a post. There are three options here: confirmation dialogs for unfollowing, boosting, or deleting.
Sensitive media settings is where the user can specify how they want to see media under content warnings. Here a user can either set sensitive media to always be hidden, thus requiring the user to click on the media to unhide it. Or if they wish to set all media to hide. Or if they wish to set all media to show regardless.
The Show colorful gradients of sensitive media blurs the media, and the gradients give a vague hint that there is forms in the media, but until the media is clicked upon, the vague forms cannot be fully seen. If the colorful gradients can be hurtful to a person’s eyes, then this can be unchecked.
The final sensitive media setting controls whether client automatically shows or doesn’t show all content warning media and text; if left unchecked, then the user must open the post’s content warning to see the media/text.
As always, the Save Changes button is at the bottom of the setting menu. This must be clicked in order to save changes to the settings for Appearance.
Advanced Web Interface
If a user checked the advanced web interface option in Appearance, this will load the web-client in a new way. Let’s explore that now!
Under Getting started menu on right-hand side, the other timelines such as local, federated, explore, and direct message are listed. If a timeline is clicked upon, it will appear as a separate column next to the home column. To pin this new timeline column, select the Show settings button, and in that dropdown menu, select pin. This pins the timeline so it loads next to the home timeline each time the client is opened. Each timeline in the Getting Started menu can be pinned or unpinned in this manner. This allows for multiple timelines to show posts at the same time.
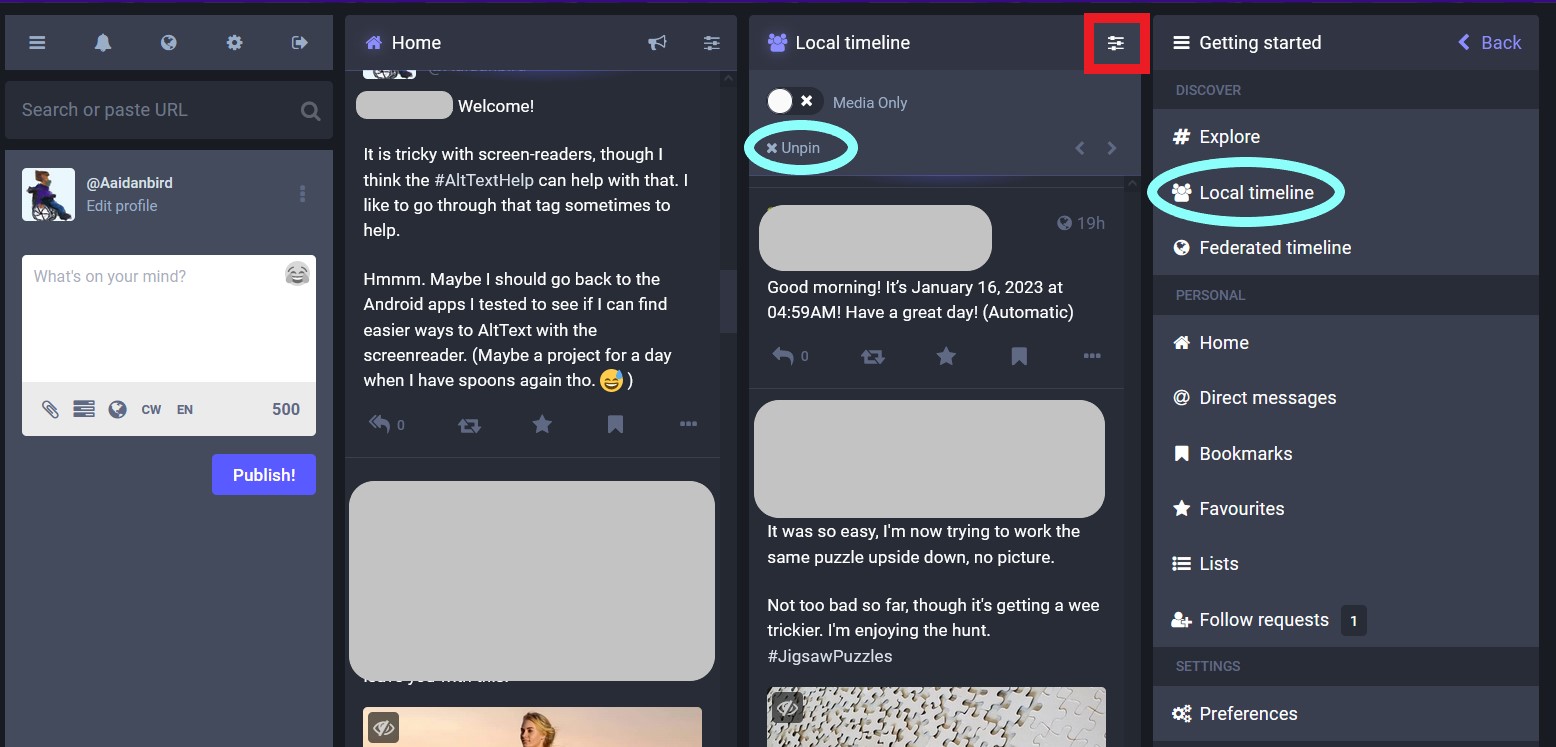
Note that the width of these timeline columns will depend upon the screen of your device. If the screen of your device makes multiple columns hard to read, then either unpin the least used columns or switch to a simple web interface in preferences.
Mastodon Apps and Web Clients for Androids
Aaidanbird@disabled.social, author of this article, did a review of various Mastodon Android apps and web-clients here. More details on the accessibility options for each app will be placed here once Aaidanbird@disabled.social has spoons to do a more full write-up, so this section is a placeholder.
Addendum
Please note that Cuckoo+ does not retain AltText for images. It is advised to not use this web-client to log into the server. Any AltText input into posts will not be retained and won’t be accessible on any other app or client.